

How to prepare artwork for card printing
Bleed, color profile, resolution and the chip area. What a print-ready card file needs, seen from the manufacturer's side.
August 14, 2026 · 6 min read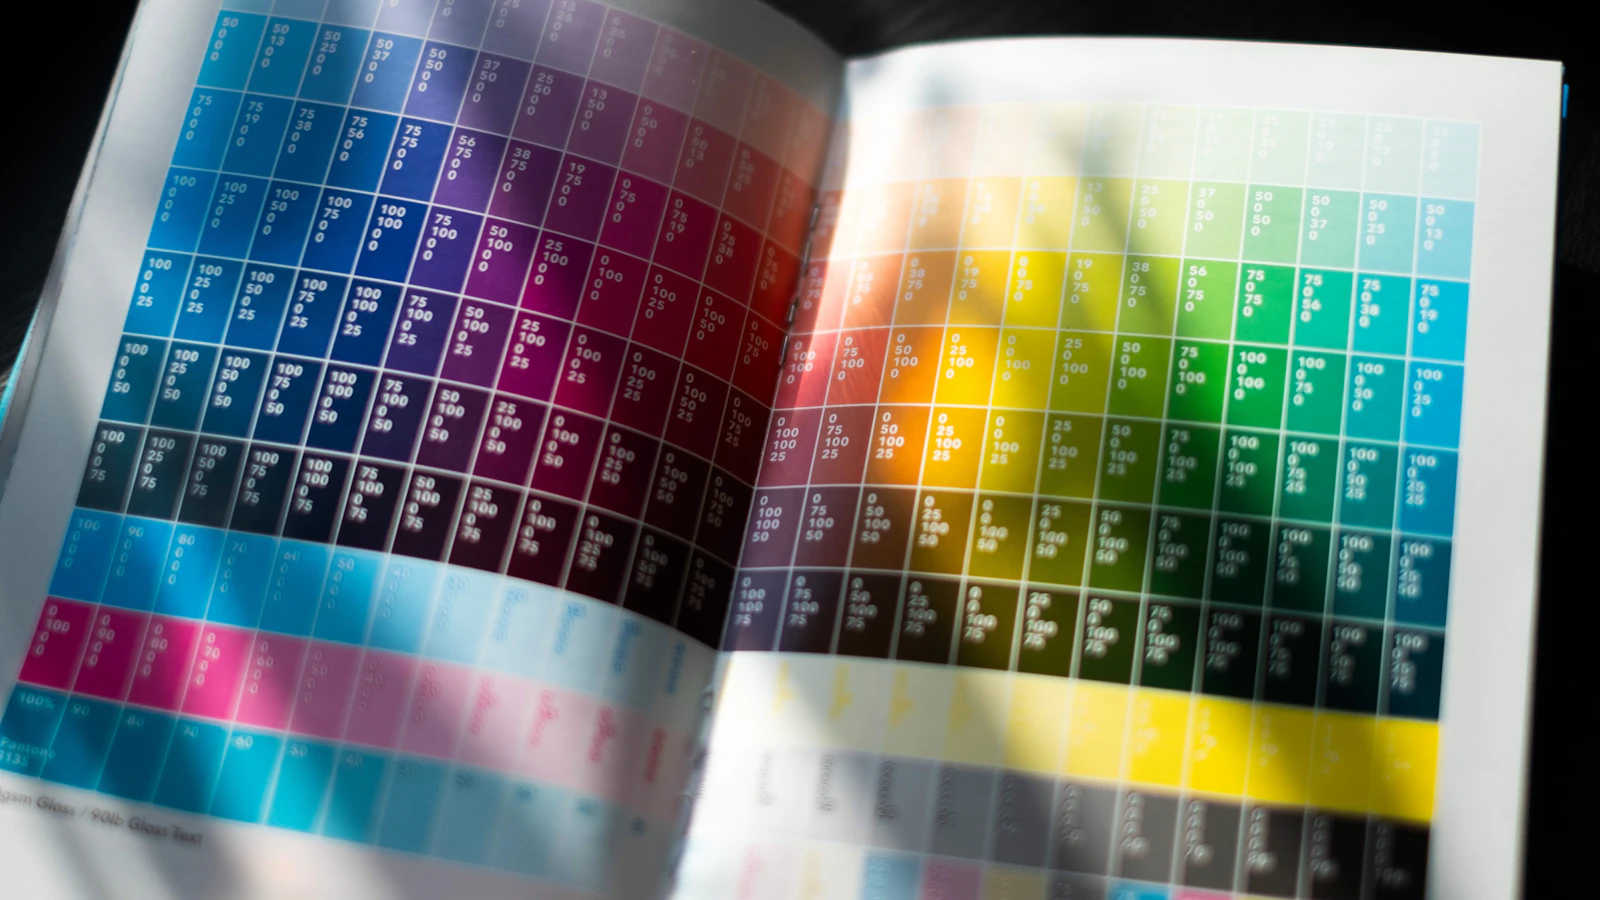
Why file preparation matters this much
A card is one of the smallest print jobs there is. On a surface of 85.6 × 54 millimeters a one-millimeter shift is visible to the naked eye; a logo that looks centered on screen can end up pressed against the edge once the card is cut. Tolerances that pass on paper do not pass on a card.
Everything below is something we end up fixing in most of the files we receive. A file prepared correctly the first time removes the back-and-forth at the proofing stage and turns days into hours.
Dimensions and bleed
Cards are cut out of a larger sheet. The blade does not land at micron precision every single time, so the design has to extend past the trim line; that extension is the bleed. If a background color or image does not run all the way into the bleed, a slight shift in the cut leaves a white sliver along the edge of the card.
The same logic applies in reverse: text, logos and anything else that matters have to sit inside a safe area, within the trim line. Text closer than three millimeters to the edge risks being clipped.
- Trim size
- 85.6 × 54 mm (CR80)
- Bleed
- 2 mm on every edge
- Total canvas
- 89.6 × 58 mm
- Safe area
- 3 mm inside the trim line
- Corner radius
- 3.18 mm
Color: CMYK, not RGB
A screen emits light; print reflects it. That is why the vivid blue or neon green you see on screen cannot be printed. Build the file in CMYK from the start — files prepared in RGB and converted afterwards come out visibly duller, and we end up having to show you that at the proofing stage.
Black areas are a special case. Large black fills printed with K100 alone come out grayish. If the whole card is black, use a rich black: C40 M30 Y30 K100. Do not do it in fine text, though — four inks stacked on top of each other blur at small point sizes, and plain K100 is the right call there.
If you have a Pantone code for your brand color, send it. We match it to the closest CMYK equivalent; on the offset line the Pantone color itself can also be printed exactly.
Resolution and images
Vector artwork is best: a vector is independent of scale and stays sharp at whatever size it is printed. Logos in particular should be vector.
If you are using a photograph, it has to be at least 300 DPI at its final size. An image downloaded from your own website almost certainly will not do; 72 DPI is enough for a screen, and the same image prints blurry. Scaling an image up does not add resolution, it only makes the pixels bigger.
Convert type to outlines
If the font you used is not installed on the machine where we open your file, the software substitutes another one. If we do not catch it, we print the wrong typeface; if we do catch it, we call you and ask for the file again. Either way it costs time.
The fix is simple: convert all text to outlines. "Create Outlines" in Illustrator, "Convert to Curves" in CorelDRAW, or embed the fonts when you export a PDF from InDesign. Once converted, the text can no longer be edited, so keep an editable copy for yourself.
Leave room for the chip, magnetic stripe and barcode
If a technology is being added to the card, that component has a fixed position on the card and the design has to stay out of it. These areas are set by standard, not by our preference.
The magnetic stripe is a band on the back of the card that starts near the top edge; nothing can be printed over it. A contact chip sits in the upper left area of the front face. A contactless chip is embedded inside the body and never appears on the surface — which is why contactless cards place no constraint on the design at all.
If you are printing a barcode, leave clear space around it. A dark background running right up against the barcode stops the scanner from finding the code.
- Magnetic stripe position
- Back face, 5.54 mm from the top edge
- Magnetic stripe height
- 12.7 mm
- Contact chip
- Front face upper left, about 13 × 11 mm
- Signature panel
- Back face, usually below the stripe
- Barcode clearance
- At least 3 mm of clear background on every side
Which formats to send
We accept the formats below. The file upload field on the quote form takes exactly these.
- AI — Adobe Illustrator, the format we prefer
- EPS — vector, opens in every program
- PDF — exported for print, with fonts embedded or converted to outlines
- CDR — CorelDRAW
- PSD — Photoshop, as long as it is layered and 300 DPI
The mistakes we see most often
The items on this list account for almost every file we have to send back at the proofing stage.
- No bleed — the background stops exactly at the trim size
- The file is RGB, and the colors fade in print
- The logo was taken from a website, at 72 DPI
- Type has not been converted to outlines
- Text sits a millimeter from the edge of the card
- The design runs over the magnetic stripe
- Front and back are stacked in one file, with no way to tell which is which
If you do not have artwork
We prepare the design for the cards we produce. Send us your logo and the information you want on the card, and we will put a print proof in front of you for approval. On the quote form, checking "I don't have artwork, please design it" is all it takes.
Nothing enters the production line before the sample is approved, so you see how the printed card will look before it is printed.
Products covered in this article
Tell us the quantity and what goes on the card, and we'll have a price back to you the same day.
Frequently asked questions
The questions we get asked most about this topic.
What happens if I send a file with no bleed?
We have to extend the design ourselves. With a flat background color that is no problem, but if there is a photograph or a pattern behind it, inventing the edges can distort the image. In that case we come back to you for approval, and the job takes longer.
Can I send a Word or PowerPoint file?
Neither is suitable for print; both work in RGB and have no concept of resolution or bleed. If that is all you have, send it anyway and we will rebuild the design properly for printing.
Every card needs a different name on it. How should I prepare the file?
Send the design once and mark where the names go. Send the name list separately, as a spreadsheet. Variable data printing puts a different name on every card, so there is no need to duplicate the design once per person.
Should I send separate files for the front and the back?
Send them in the same file as two separate pages or two separate artboards, and note which one is the front. Pulling apart designs stacked on a single canvas takes time and invites misunderstanding.